How to Organize Totes with Places
Search tells you which tote holds an item. Places tells you where that tote physically sits. Together they take you from “which box?” to “which shelf” without a second thought.
Step 1: Tag each tote with its location
Give each tote a location that matches the real world: “Garage, back wall”, “Closet, top shelf”, “Storage unit, row C”. When a search result points you to a tote, the location tells you exactly where to walk.
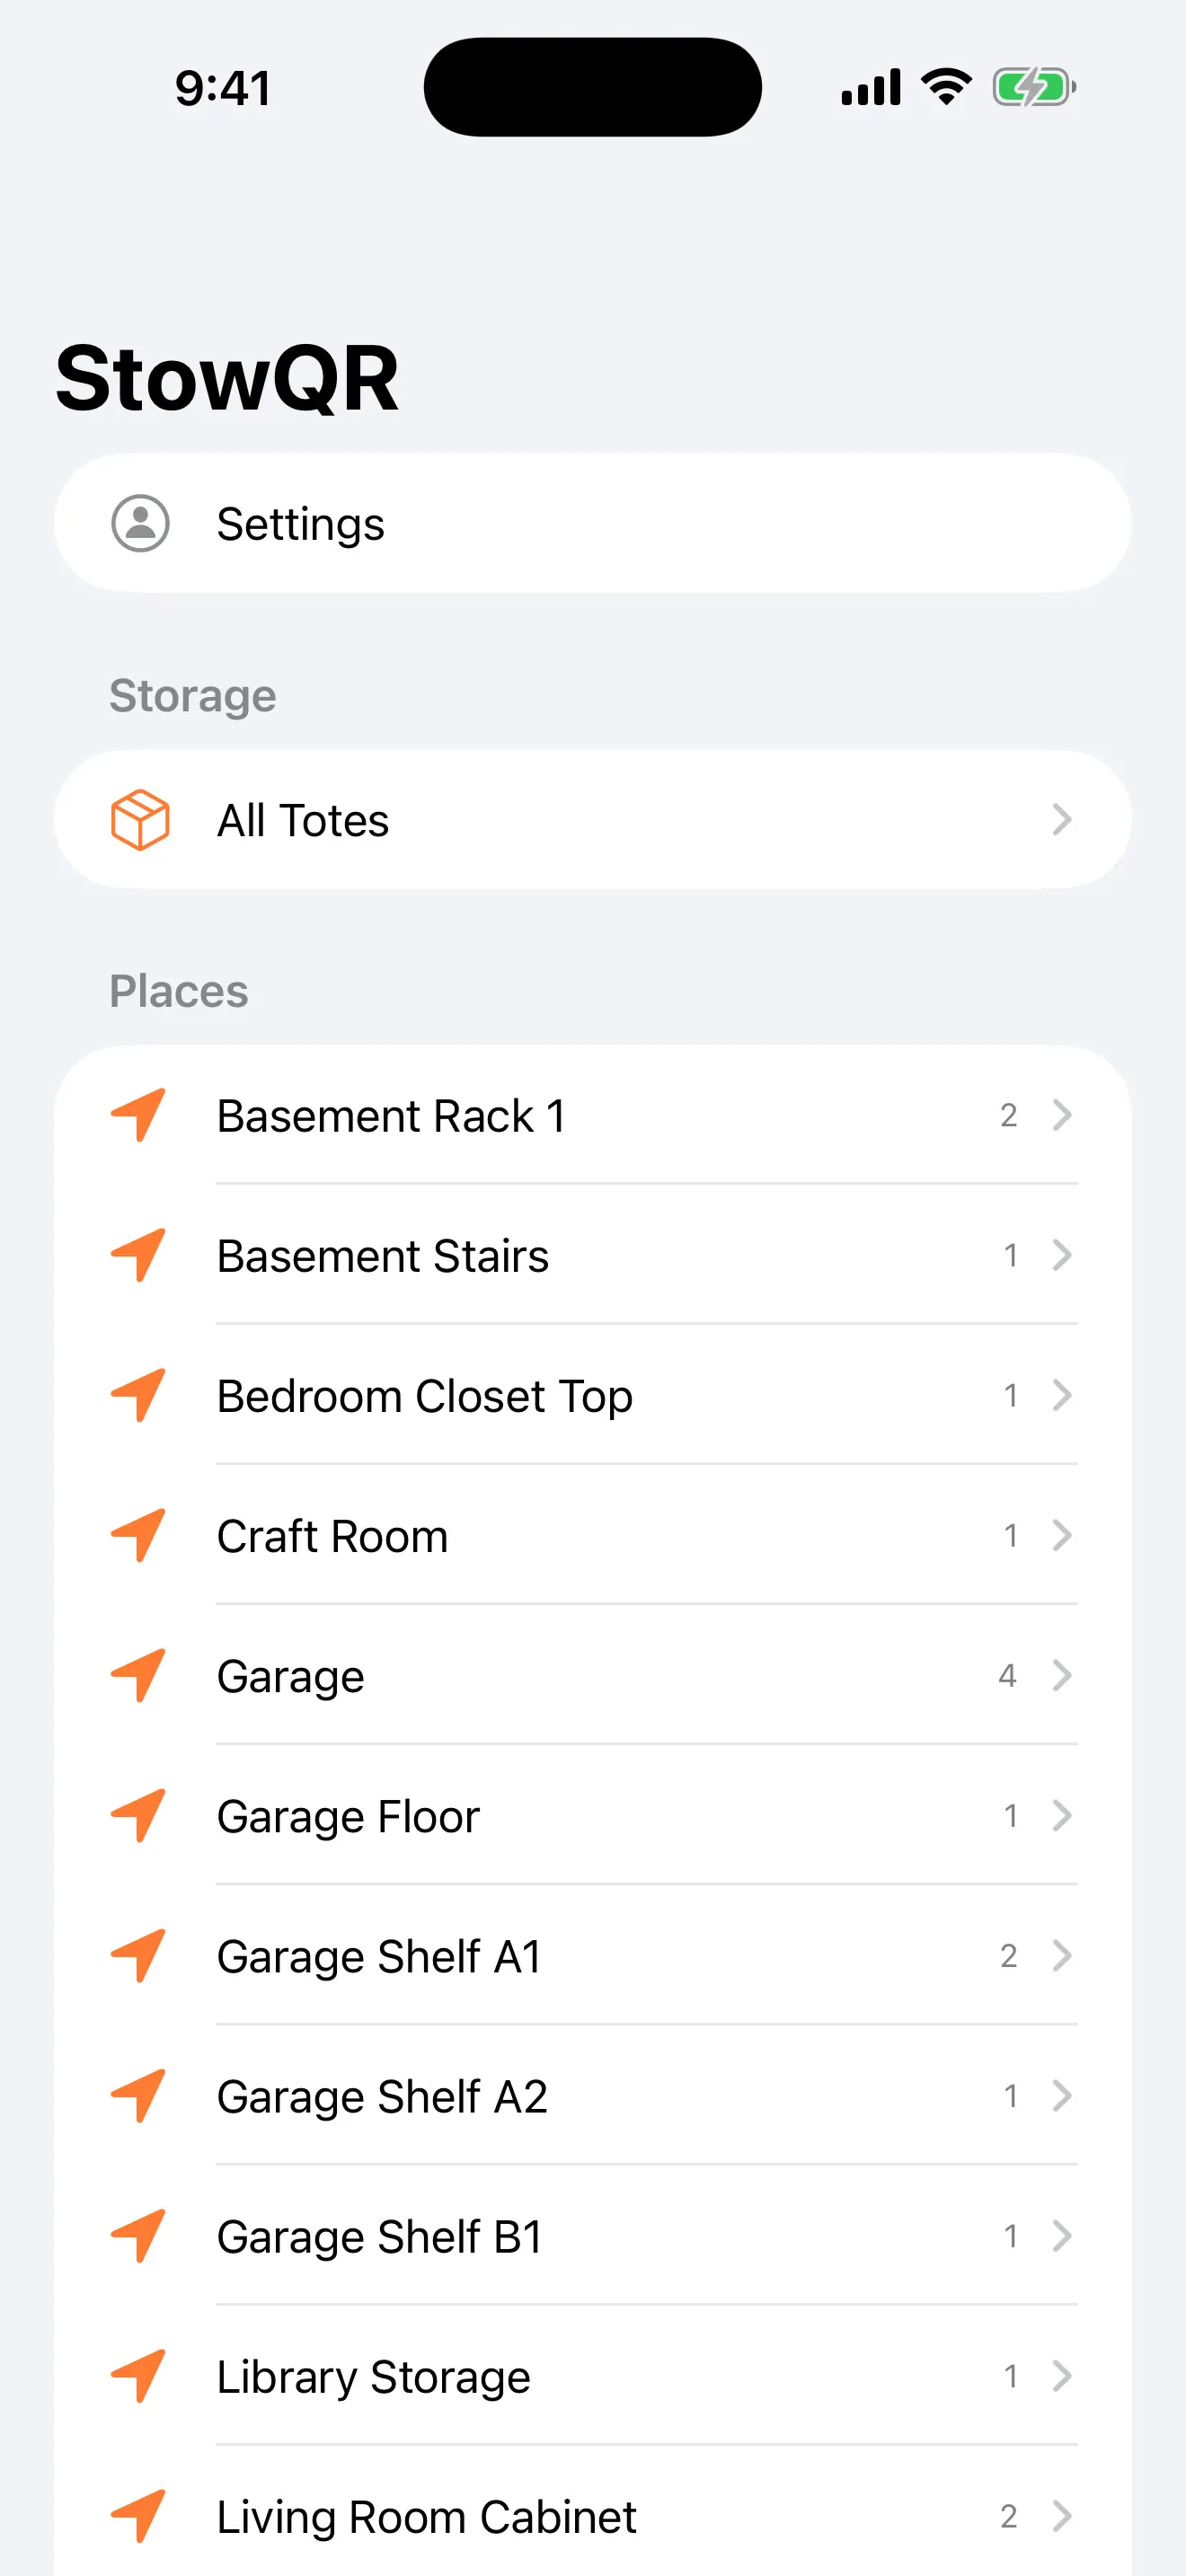
Step 2: Browse totes by Place
Group your totes under Places and browse by where things sit, not just by name. It mirrors how you actually think about your stuff — “everything on the overhead rack” — and makes a big inventory feel like a map instead of a list.
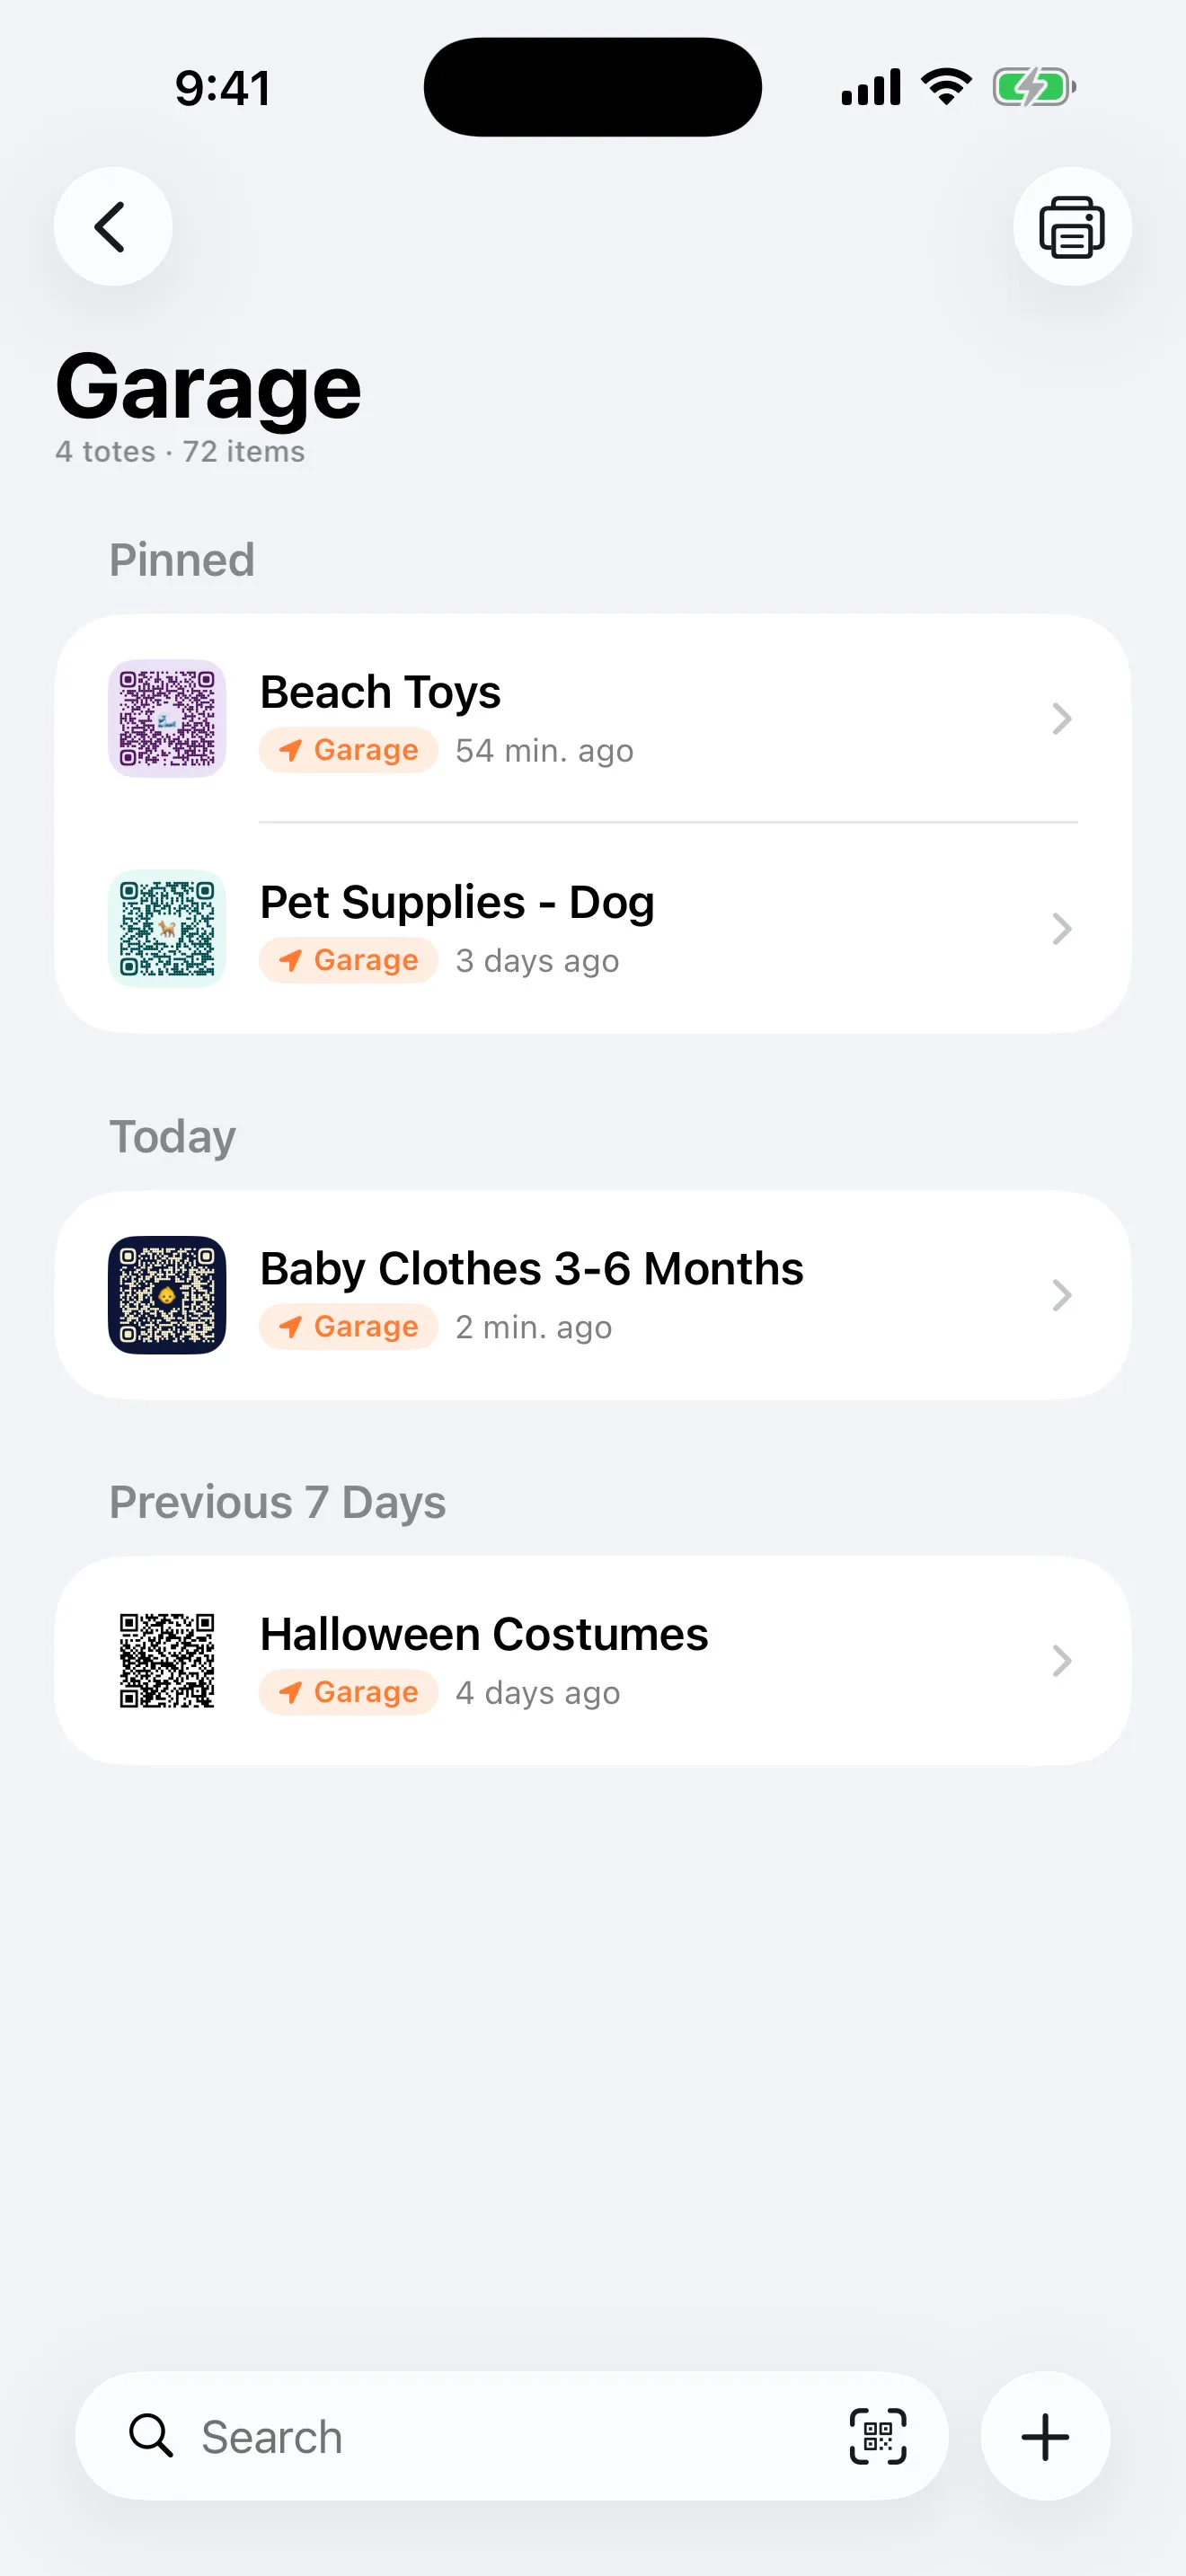
Step 3: Pin the totes you open most
Some totes get opened weekly, others once a year. Pin the frequent ones to the top of the list, or swipe a tote to pin and unpin without opening a menu. The list stays shaped around what you actually reach for.
Step 4: Sort and filter the list
Sort by creation date, last modified, or your own order. Combine that with Places and pins and the totes list always opens on what's most relevant — no scrolling past the holiday bins to reach the one you use every week. When you move a tote to a new shelf, just update its location or move its items and the map stays accurate.
Map your first space
Map one shelf or closet and put every tote in its place. Get started today.
Free to start.